


There are many benefits to refinishing or hardwood flooring, from saving money on heating bills to reducing your carbon footprint. Installing a hardwood floor can be a time-consuming and challenging task if you’re unfamiliar with the process.
If you’re thinking of installing new floors, read on for some tips on selecting the right flooring solution for your home, as well as the steps you’ll need to take for installation.
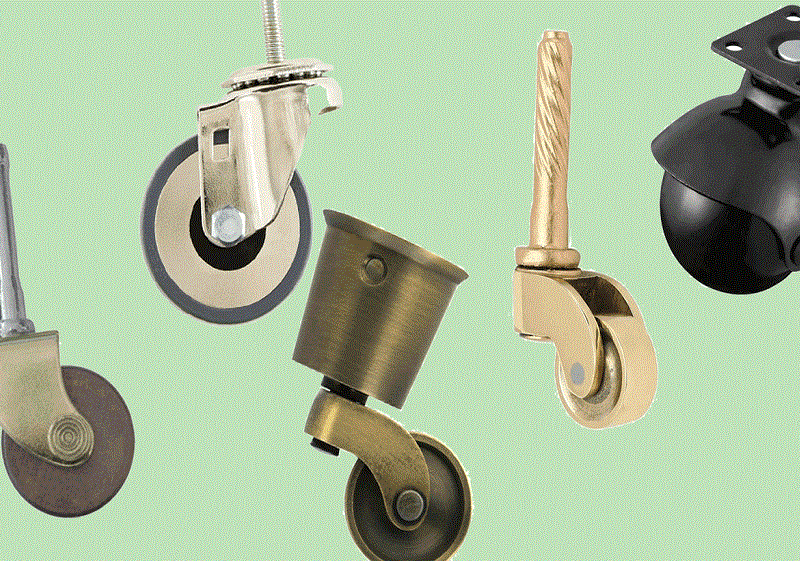
What are furniture casters?
Furniture casters are small, metal discs that attach to furniture legs to allow the item to slide across the floor quickly. Casters are attached by screwing them into a threaded hole on each furniture leg. When purchasing new caster wheels,it’scrucial to select the right wheel size for your particular piece of furniture.
Where should you start?
Purchase Hardwood Flooring
Once you’vedecided to install hardwood flooring in your home, begin purchasing the necessary supplies. Before installing the flooring, ensure that your subfloor is clean and free of cracks or other imperfections.
Remember, this is a significant investment, and there’s no sense in rushing through it. Do not be tempted to cut corners if you want your home to look its best. If you do not feel confident performing the installation yourself, hire qualified flooring contractors.
Make Sure Your Floors Are Level!
Before you start, make sure your floors are level. It is crucialto have an older home with uneven surfaces or sagging beams in the flooring area. Use a laser level to ensure that your floor is perfectly level before installing the hardwood floors. It helps when installing caster wheels since they are easy to attach.
Make sure the subfloor is sturdy enough to support your new hardwood flooring. If not, you will need to install supports below the surface before laying down the flooring. For example, if you have an existing concrete slab that is too rough or damaged, you’ll need to use a tile backer board to create a smoother surface for the new flooring.
Install Floor Protection
Wrap rubber matting around your subfloor or support beams to protect them from damage due to nail placement during installation. You must protect these structures since they are an integral part of your home, even if you plan to replace them later. It is especially important when using hardwood flooring because nails can be difficult to remove.
Apply Adhesive
Apply a thin layer of adhesive to your subfloor before setting the first row of flooring in place. Spray any exposed beams with adhesive as well. Use a notched trowel or putty knife to spread the adhesive over your subfloor.
Secure the Flooring to Your Subfloor
Many types of hardwood flooring are designed to be glued or nailed directly onto wood subfloors. Others will need an additional adhesive to keep them in place over time, depending on the specific type you choose. If your home has a concrete subfloor, it will need to be covered with a unique material before installation.
Finish the Installation
Use a moisture barrier and aluminum threshold to protect new hardwood floors from moisture. It can be difficult to remove old thresholds, so install new ones to protect against damage due to humidity or water damage.
In conclusion, installing hardwood flooring in your home is a big project that requires planning, patience, and attention to detail. However, it can be immensely satisfying to see the results of your handiwork after completing all the steps.